
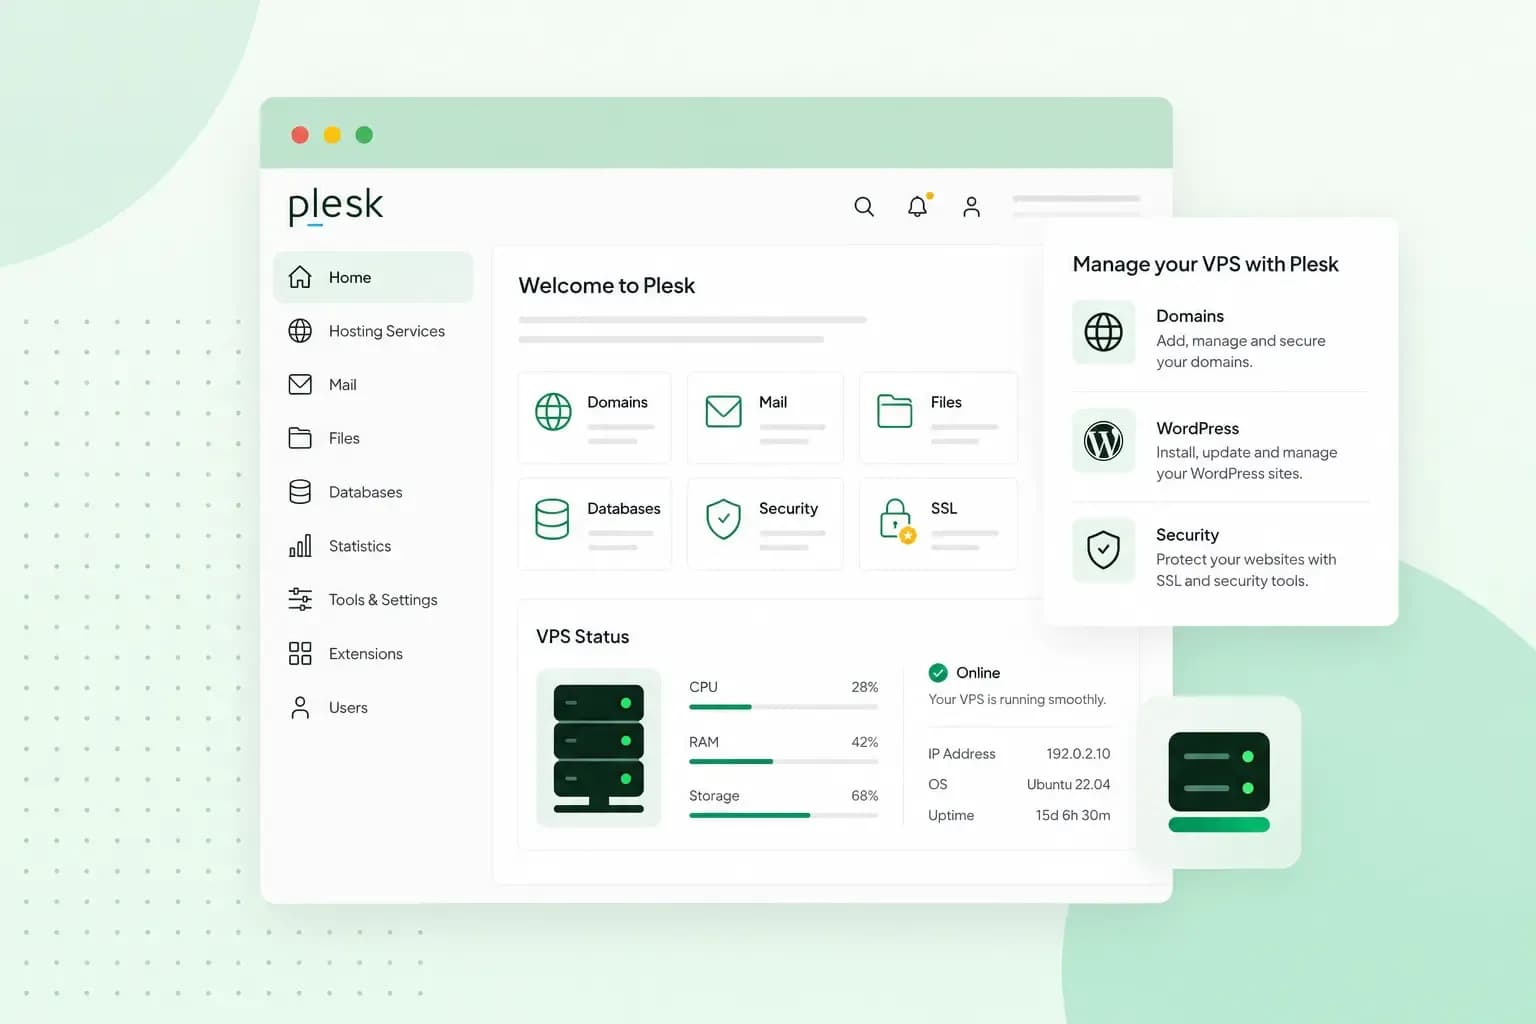
Plesk is a control panel that lets you run the websites on your VPS from your browser instead of the command line. You add domains, set up email addresses and databases, and secure your sites in one place. To start, you log in, work through Plesk's first setup and add your first website.
What is Plesk?
Plesk is server management software: it sits on your VPS and handles the hosting your websites need. Besides websites and email, it covers domains, databases, SSL certificates, backups and applications. It also manages FTP accounts, and extensions add more tools when you need them.
Plesk is optional on our VPS plans, so you can also run your server without it. The current version is Plesk Obsidian, which comes in several editions.
What you need before you start
Make sure you have these four things before your first login:
- A VPS with Plesk. You pick Plesk when you order your VPS, and we install it for you in the background.
- A Plesk licence. It costs extra, as the licence isn't included in our VPS price.
- A domain for your first website, registered with us or with another company.
- Your server's IP address or hostname. You find both in your VPS dashboard in our control panel.
You can buy the licence from us when you order your VPS or later, get one from another vendor or use a key you already have. The editions differ in how many domains you can manage and in some of their tools, so pick the one that covers the websites you plan to run.
If your VPS runs without Plesk, you can choose Plesk when you redeploy your server. A redeploy erases everything on the VPS, so back up your server first.
Which Plesk view should you choose?
For your own websites, choose Power User view. Plesk asks you to pick one of two views at your first login, so it helps to decide before you start. Power User view is for a web admin who manages websites, your own or your clients'. Service Provider view is for a hosting provider who sells hosting to customers who then manage their own websites.
Our advice: leave Service Provider view to hosting providers. Power User view has the tools you need to run your websites and your server, and our guides use it too, so the steps match your screen. If your plans change, you can switch to Service Provider view later, as long as you're logged in as the owner.
How do you log in to Plesk for the first time?
The simplest way to log in to Plesk the first time is to open it from your VPS in our control panel. On our Linux VPS, the default user for SSH is administrator, and its password is the one you created when you ordered your VPS. You can change it at any time in your VPS dashboard. Your browser may show an SSL warning on this first visit. That means the server doesn't have a proper certificate yet, and it's safe to continue past the warning this time. Once we've installed Plesk on your VPS, the first Plesk login takes you through a short setup.
- In our control panel, click VPS, choose your server and click the Plesk button under Shortcuts. Plesk opens and logs you in.
- Accept the Plesk licence agreement.
- Complete the initial configuration: give the server's full hostname, select the default IP address, split the IP addresses into shared and dedicated ones and set a new administrator password.
- Fill in the form with your personal information.
- Select what the server is for and choose Power User view or Service Provider view.
- Add your Plesk licence key: upload it as a .ZIP or .XML file, or enter the activation code.
- If you chose Power User view, set up your first subscription, Plesk's word for the hosting of a domain, with the domain name, the IP address and a username and password for the system user.
A shared IP address can be used by any number of websites, and a dedicated one only by the websites of a single account. If your VPS has one IP address, keep it shared so all your websites can use it. The system user in the last step is the account that owns your website's files.
What to set up first in Plesk
Once you're logged in, set up your website in this order: add it, point your domain to the server, secure it with SSL and then create your email addresses. The order matters most for SSL, because Let's Encrypt checks your domain on your server before it issues the certificate.
Add your website
After your first login, you add your websites and their domains in Plesk. If you chose Power User view, the domain of your first subscription is already there, so for that website you start at step 3.
- Open Plesk from your VPS in our control panel, as you did for your first login.
- Add your domain in Plesk.
- Choose how you want to create the website, such as WordPress, and fill in the details it asks for.
- If the tool you want isn't listed, look for it among Plesk's other applications.
If you build the site with the WordPress option, Plesk creates its database for you.
Point your domain to your server
Your website only opens on your domain once the domain's DNS points to your server. You set this with an A record at your DNS host.
- Find your server's IP address in Plesk, at the bottom of your website's page.
- At your DNS host, where your domain's name servers are, create an A record that points your domain to that IP address.
- If your DNS host isn't us, ask its support how to add the A record there.
- Wait for the change to reach everyone before you add SSL: on our name servers it often takes a few hours and can take up to 72 hours.
Add a free SSL certificate
An SSL certificate secures the connection to your website, which protects your visitors' data. In Plesk, the simplest option is a free basic certificate from Let's Encrypt. You find it under Websites & Domains, then SSL/TLS Certificates. Plesk asks for an email address you have access to and what the certificate should cover. Request it once your domain points to your server.
Create your email addresses
You create your domain's email addresses in Plesk's mail area and use them in an app such as Outlook or Thunderbird, or in webmail, which needs one more A record. For your email to work, your domain needs an A record for mail.yourdomain.co.uk that points to your server's IP address, and an MX record with mail.yourdomain.co.uk as the mail server and priority 10. Our guide to the DNS records for your Plesk services adds an SPF record as well. An MX record tells other mail servers where to deliver your email, an A record points to the mail server, and an SPF record lists the servers allowed to send email for your domain. You add them at your DNS host, in the same way as the A record for your website. The guide is written for Managed VPS, so put your own server's IP address in the SPF record in place of its example range.
Who looks after your VPS when you use Plesk?
You do. Our VPS is unmanaged, so you look after the server yourself, with or without Plesk. You get full root access, and you're in charge of updates, security patches and backups. That control also means you can remove Plesk later or swap it for another control panel.
Your own server with full root access and Plesk installed for you. Add a licence from us or bring your own.
Choose a VPSIf you'd rather not deal with updates and security yourself, Managed VPS is the better fit. We take care of the server for you and Plesk comes pre-installed, so you only manage your websites in it. If you're still deciding, compare a VPS with a Managed VPS.
Ready to run your websites with Plesk?
If you're happy to look after the server yourself, choose your Plesk VPS and start with the first login above. Every website you add after that takes the same few steps in your browser.
Recommended reading
 VPSNov 6, 2026
What is a VPS server and how to choose the best one
A VPS server is a virtual server with its own reserved CPU, RAM and storage. See how it compares with shared hosting and how to choose the right one. VPSOct 20, 2025
What is n8n, and how do you run it on your own VPS?
Work more efficiently with n8n automation on your own VPS. Learn how to use n8n in combination with AI. VPSOct 3, 2025
What is a server?
Servers ensure that websites, online shops, and other online services run smoothly. Learn more about what a server is and how it works.