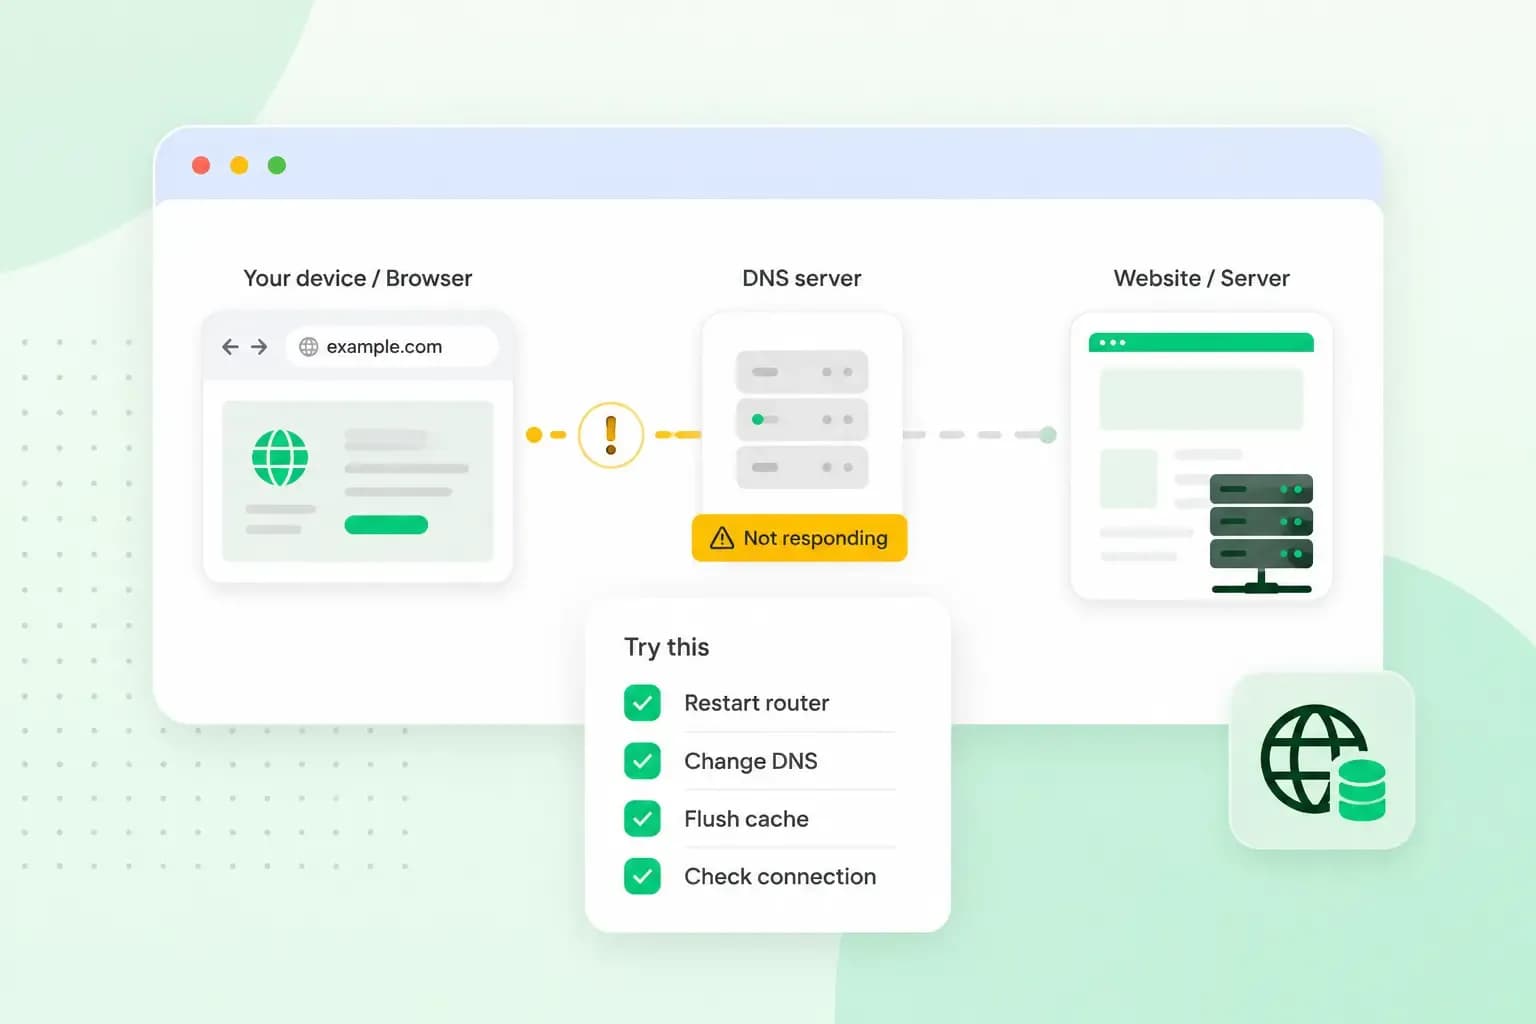
“DNS server not responding” means your device asked a DNS server for a website's address and got no answer, so the website won't open. You may also see it as “the DNS server is not responding” or “your DNS server might be unavailable”. When the DNS server isn't responding, the steps below help you find where the fault is and fix it, from a quick test in another browser to changing your DNS server.
What does “DNS server not responding” mean?
The error comes from the lookup your device makes before any website opens. Websites sit on servers with a numeric IP address. When you type a web address, your device first asks the DNS server which IP address belongs to it. Without that answer, your browser doesn't know where to go. The fault can sit in your browser, your device, your router or your broadband provider's DNS server, which is why the fixes below test each of them in turn.
The DNS cache on your device saves it a trip to the server: it keeps the answers to recent DNS questions for a while, so your device doesn't have to ask again every time you open a website. An out-of-date entry there can stop a website from loading even when the server is fine.
How to fix “DNS server not responding”
Steps 1 and 2 are quick tests, and what they show tells you which of the later fixes to try. Work through the rest in order.
1. Try another browser
Open the same website in another browser. If it loads there, the fault is in your first browser, so clear that browser's cache and try again. Do the same if your phone or computer has only one browser. In Chrome, for example, you select More at the top right, then Delete browsing data. This is the browser's own cache, not the DNS cache you clear in step 5. If the website fails in every browser, go on to step 2.
2. Try another device or connection
Open the website on another device on the same Wi-Fi. If it works there, the problem is on your first device, so try steps 4 to 6 on it. If it fails there too, the cause is something both devices share: your router or your broadband provider's DNS server. Restart your router first (step 3), and if the error stays, change your DNS server (step 6).
If you only see “DNS server not responding” on Wi-Fi, switch off Wi-Fi on your phone and open the website over mobile data. If it loads, the fault is in your home network rather than with the website. And if only one website fails, on every device and connection, the problem is probably with that website, so wait a while and try it again later.
3. Restart your router
Unplug your router, and your modem if it's a separate box, from the power. Wait at least 30 seconds, then plug it back in and try the website again once the router has reconnected.
4. Turn off your VPN and other connections
If you use a VPN, disconnect from it and try the website again. Then make sure only the connection you're using is active. If you're on Wi-Fi, for example, unplug any network cable you're not using.
5. Clear your DNS cache
Clearing the DNS cache, also called flushing it, empties that store of recent answers, so your device asks the DNS server again the next time you open a website. Once you've cleared it, try the website again.
Flush the DNS cache on Windows
Windows may hold a failed or old DNS lookup. To clear it, run one command as administrator:
- Select Search on the taskbar and type
command prompt. - To the right of Command Prompt, select Run as administrator, then Yes.
- Type
ipconfig /flushdnsand select Enter.
Flush the DNS cache on a Mac
The Mac may hold a failed or old DNS lookup too. You clear it with one command in Terminal, which needs an administrator account:
- Open Terminal: click Spotlight in the menu bar, type Terminal in the search field and click Terminal, or in the Finder open the Applications folder, then the Utilities folder, and double-click Terminal.
- Type
sudo killall -HUP mDNSResponderand press Return. - Type your administrator account password at the prompt and press Return. The characters aren't displayed as you type.
6. Change your DNS server
Most devices use your broadband provider's DNS server by default. If that server is the problem, a public DNS server gets you back online. Pick a server from the table, set it on your device as shown below, then open the website again: if it loads now, the fault was your provider's server. Changing it only changes who answers your device's DNS questions, and you can switch back to the automatic setting.
Which DNS server should you use?
| Service | Good for | Addresses | Hostname for Android |
|---|---|---|---|
| Cloudflare 1.1.1.1 | Privacy | 1.1.1.1 and 1.0.0.1 | one.one.one.one |
| Quad9 | Blocking known malware sites | 9.9.9.9 and 149.112.112.112 | dns.quad9.net |
| OpenDNS FamilyShield | Blocking adult content | 208.67.222.123 and 208.67.220.123 | none |
Any of the three can replace your provider's server, so the choice comes down to what else you want. For protection against harmful websites, choose Quad9, because its recommended addresses block known malware sites. If children use your internet, choose OpenDNS FamilyShield, which OpenDNS sets up to block adult content. If privacy matters most to you, Cloudflare DNS is a good choice: Cloudflare commits to not selling or sharing your personal data from its DNS service or using it to target you with advertising.
Change the DNS server in Windows 11
Windows uses the DNS servers your router gives it. To use other DNS servers, set them in the network settings:
- Go to Network & internet settings and choose your network: Wi-Fi, then Manage known networks and the network, or Ethernet and the network you're connected to.
- Next to DNS server assignment, select Edit.
- Choose Manual, then turn on IPv4.
- Type the addresses of the DNS servers in the Preferred DNS and Alternate DNS boxes.
- Select Save.
- To go back to your provider's DNS servers, choose Automatic (DHCP) under DNS server assignment.
Change the DNS server on a Mac
- Choose Apple menu > System Settings, then click Network in the sidebar.
- Click a network service, then click Details.
- Click DNS (you may need to scroll down).
- Below the list of DNS servers, click the Add button and type the new server's IPv4 or IPv6 address.
- When you've finished, click OK.
Change the DNS server on Android
On an Android phone, another DNS provider goes into the setting called Private DNS. It takes the provider's hostname from the table rather than an IP address.
- Open your device's Settings app.
- Tap Network & internet, then Private DNS (if you can't find it, search for 'Private DNS').
- Pick Private DNS provider hostname and type the hostname your DNS provider gives.
- Tap Save.
Change the DNS server on an iPhone
To make your iPhone use other DNS servers on a Wi-Fi network, you set them for that network:
- Open the Settings app.
- Tap Wi-Fi, then tap the info button next to the network you are connected to.
- Tap Configure DNS and change it from Automatic to Manual.
- Tap Add Server and type the address of each DNS server.
- Tap Save.
Change the DNS server on your router
Instead of changing every device, you can change the DNS server once on your router, and every device on your network uses it. You do this on the router's settings page, which you open by typing the router's IP address into your browser's address bar and logging in. The address and login are often on a label on the router, and if there's no label, try 192.168.1.1 or 192.168.0.1. The steps differ by make, so follow your router maker's guide:
If your router came from your broadband provider, look for the DNS setting in your provider's help pages instead. If you can't find it there, change the DNS server on each device as shown above.
Still not working?
Get in touch with your broadband provider if the error is still there after these steps. Their DNS server or their line may be down, and they can check it from their side.
Talk to them before you reset your router to its factory settings, which is the last resort. A reset puts every setting back to its default, including the Wi-Fi name and password you may have changed, so you'll have to set those up again. It can also erase your internet settings: TP-Link, for example, says a factory reset erases them along with your Wi-Fi settings, so keep your provider's connection details to hand before you start.
If it's your own website that keeps going offline, web hosting with 99.9% uptime and daily backups helps keep it online for your visitors.
See hosting plansIf the error keeps coming back
Note which step fixed the error, so you know where to start next time.
- If a new DNS server fixed it, keep it, or set it on your router so every device on your network uses it.
- If restarting the router fixes the error only for a while, tell your broadband provider, because a fault that keeps returning may sit in their line or their DNS server.
Once you're back online, the same DNS lookup is what brings visitors to a website of your own when they type its address. If you're planning one, start with a domain of your own.
Recommended reading
 HostingAug 4, 2026
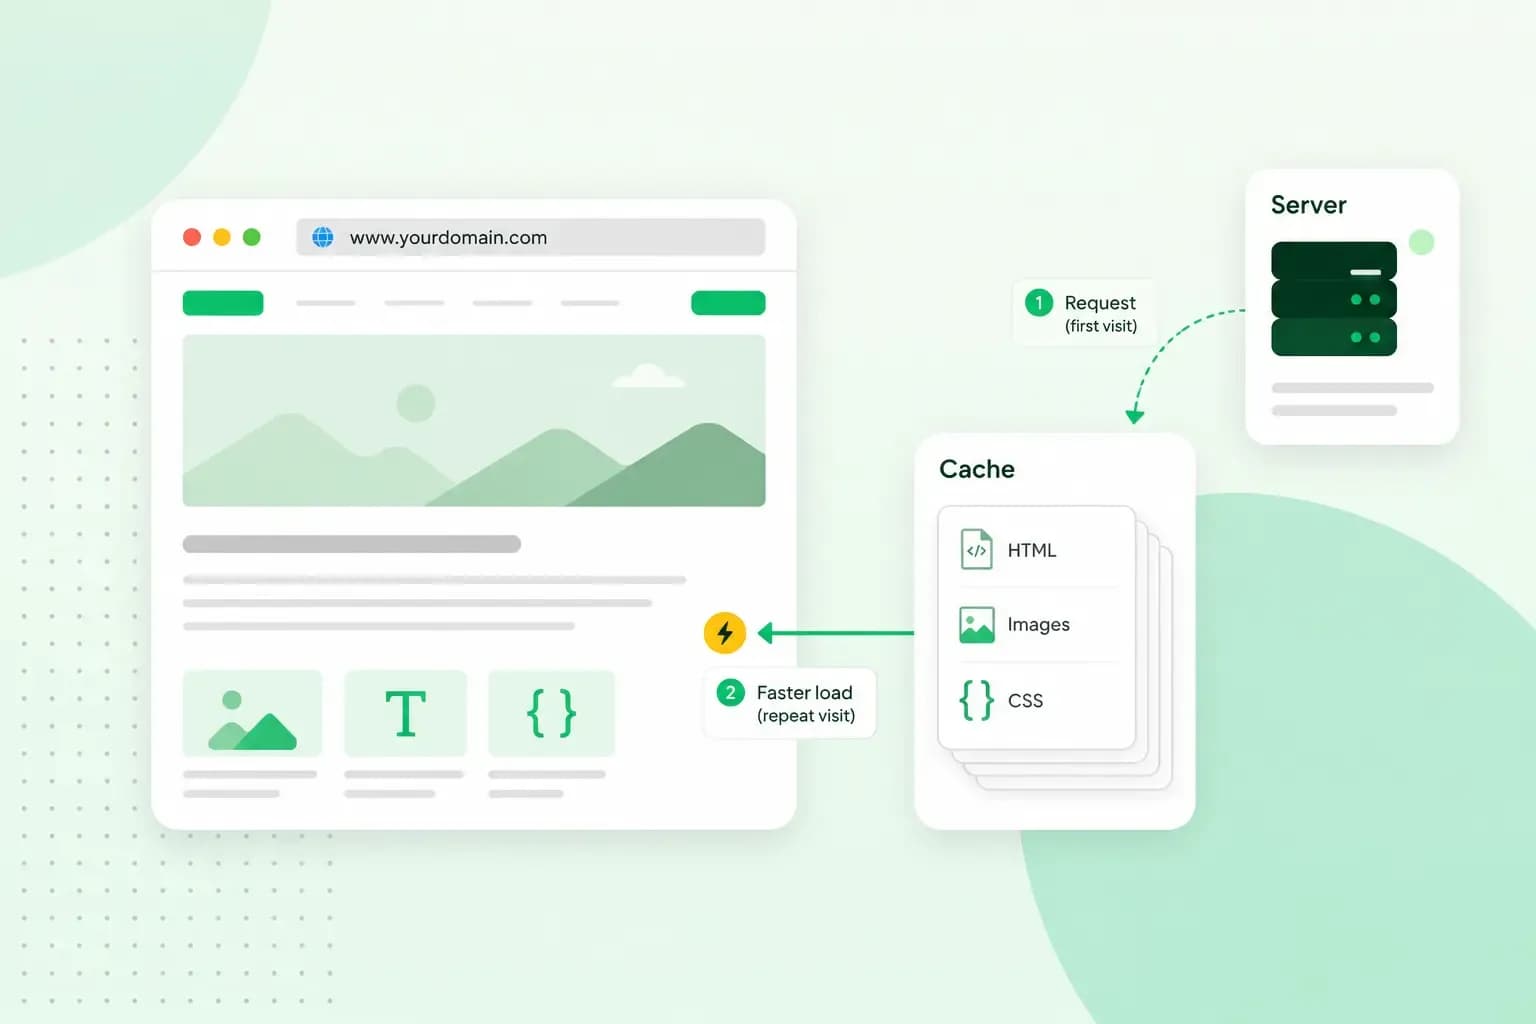
What is cache?
What does cache mean? And how to clear your cache? Read the importance of cache and why it's necessary to clear your cache once in a while.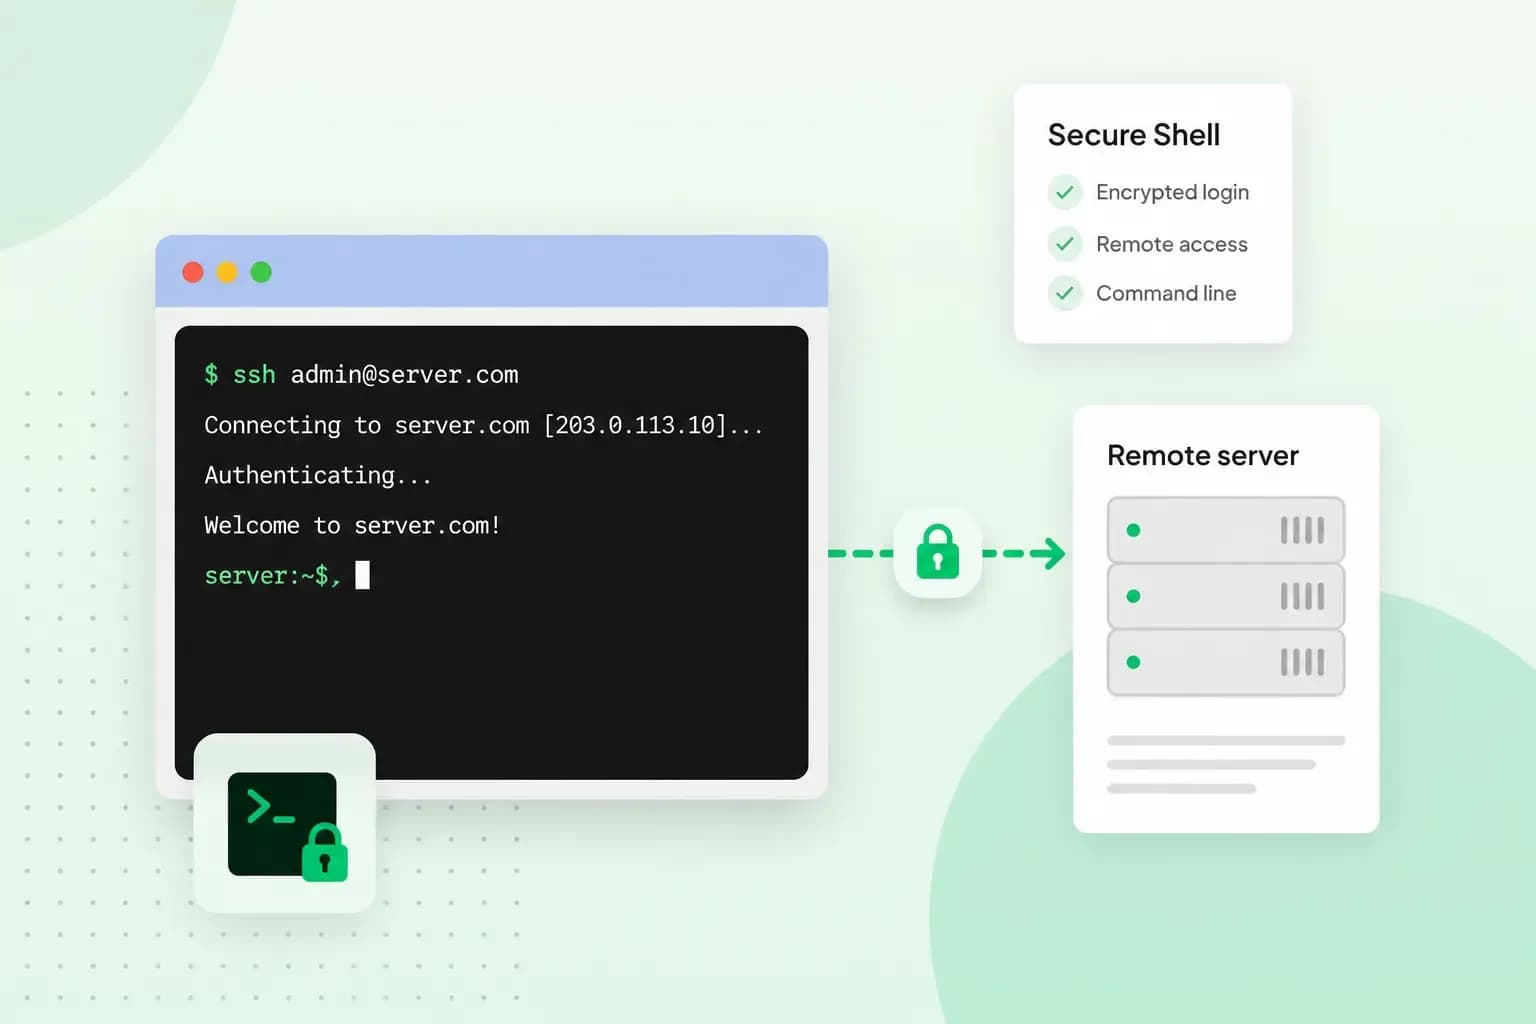 HostingAug 4, 2026
What is SSH?
How does SSH work & what does it do? Learn about the history of Secure Shell's predecessor Telnet and how SSH improved our internet security in this article.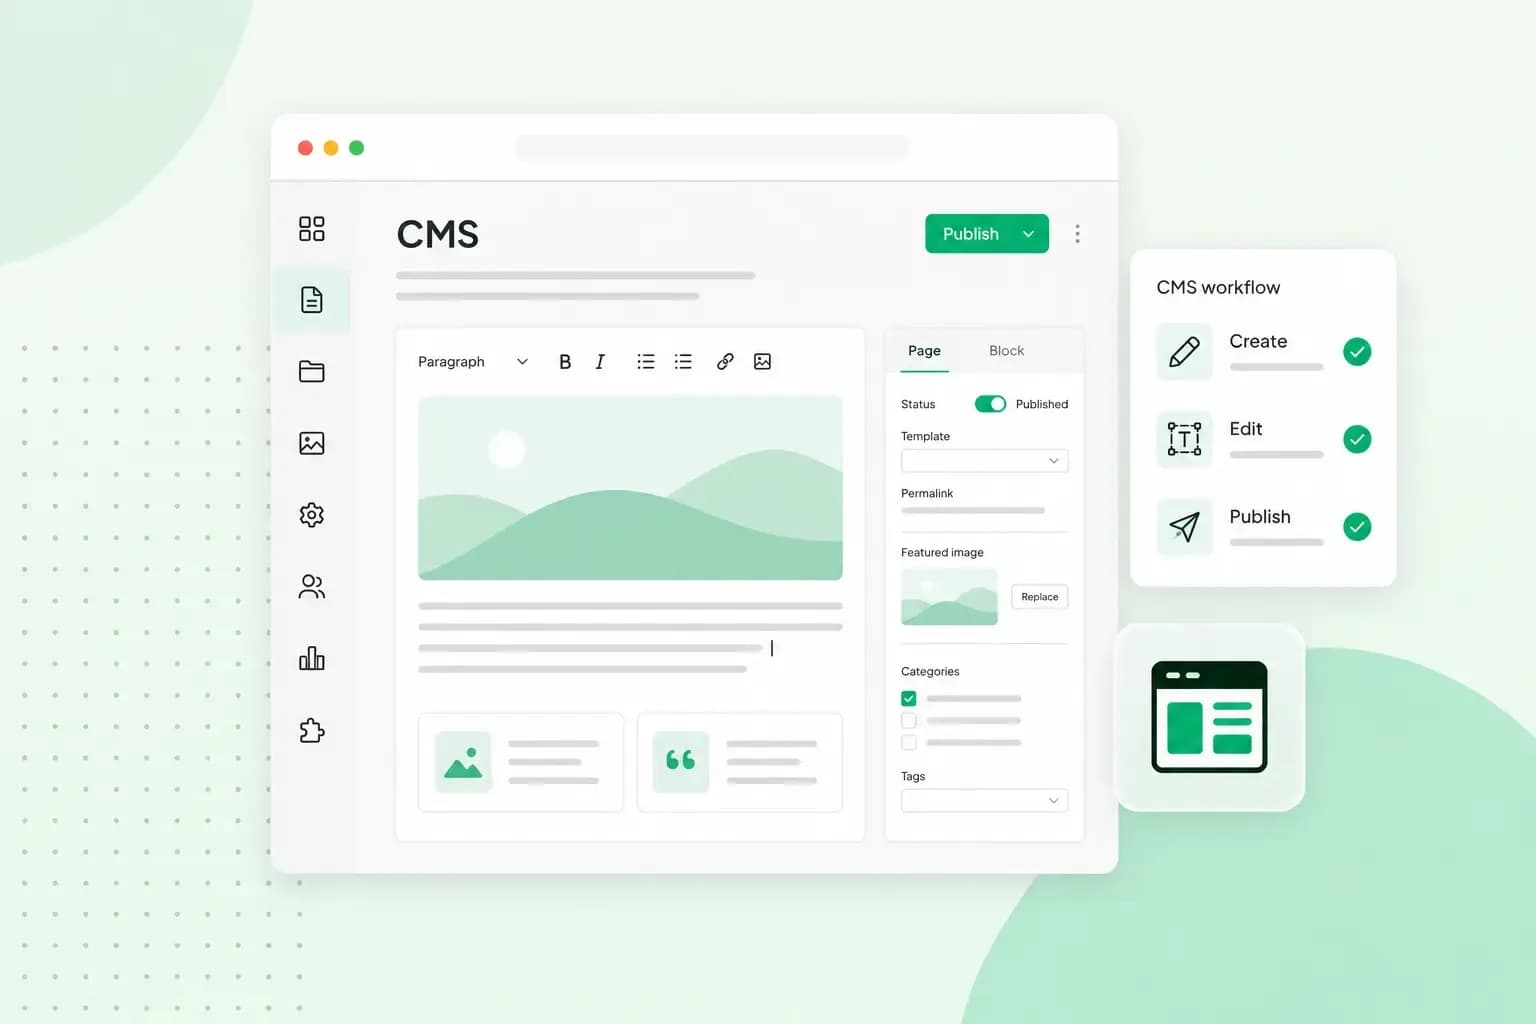 HostingAug 4, 2026
What is a CMS (Content Management System)?
You can easily create and manage your website with a content management system (CMS). Want to know more? Learn all about CMS in this complete guide!